Foam roofing, technically spray polyurethane foam (SPF), has become increasingly popular on residential and commercial flat roofs because it’s energy-efficient, affordable, and provides excellent insulation. But like any roofing system, foam roofs develop cracks, gaps, and drainage problems over time. Catching these issues early prevents leaks that can damage insulation, framing, and interior spaces. This guide walks you through identifying foam roof damage, preparing for repairs, and deciding whether to DIY or call a professional. Whether you’re dealing with minor cosmetic cracks or more serious pooling water, knowing what to look for and how to address it will help you protect your investment.
Table of Contents
ToggleKey Takeaways
- Foam roof repair is most effective when damage like cracks and seam separation are caught early, preventing costly water infiltration and structural damage to insulation and framing.
- Visible warning signs of foam roof issues include hairline cracks, gaps larger than 1/8 inch at seams, pooling water that sits longer than 48 hours, and blistering on the surface.
- Minor foam roof repair work such as sealing small cracks or patching isolated blisters can be handled by DIYers with basic tools and appropriate foam-specific sealants for $50–$300.
- Professional services are necessary for large areas of blistering, extensive seam failure, waterlogged foam, and pooling water, as these indicate potential structural failure requiring expert assessment.
- Regular biannual roof inspections (spring and fall) combined with proper drainage maintenance and prompt repairs can extend foam roof lifespan to 20–30 years.
What Is Foam Roofing and Why It Matters
Spray polyurethane foam roofing is applied wet onto the roof deck, stud framing or an existing roof surface, where it expands and hardens into a seamless, insulating layer. Once cured, it’s topped with a reflective coating (usually acrylic, polyurethane, or silicone) that protects the foam and reflects UV rays. The foam itself acts as both an air barrier and an insulator, typically offering R-values of 3.6 to 6 per inch, which is why many homeowners choose it over traditional asphalt shingles or tar-and-gravel systems.
The real strength of foam roofing is its monolithic (seamless) design. Unlike shingle roofs with thousands of overlaps where leaks can start, foam roofs have no seams, except where walls, vents, or penetrations interrupt the surface. That said, the coating layer is where weather takes its toll. UV exposure, thermal cycling, foot traffic, and impact damage gradually thin and crack the protective coating, which then allows water to reach the foam underneath. Once moisture gets into the foam, it expands and loses R-value, leading to mold, soft spots, and structural rot if left unchecked. Regular inspections and prompt repairs preserve the roof’s performance and lifespan, which can easily exceed 20–30 years with proper maintenance.
Signs Your Foam Roof Needs Repair
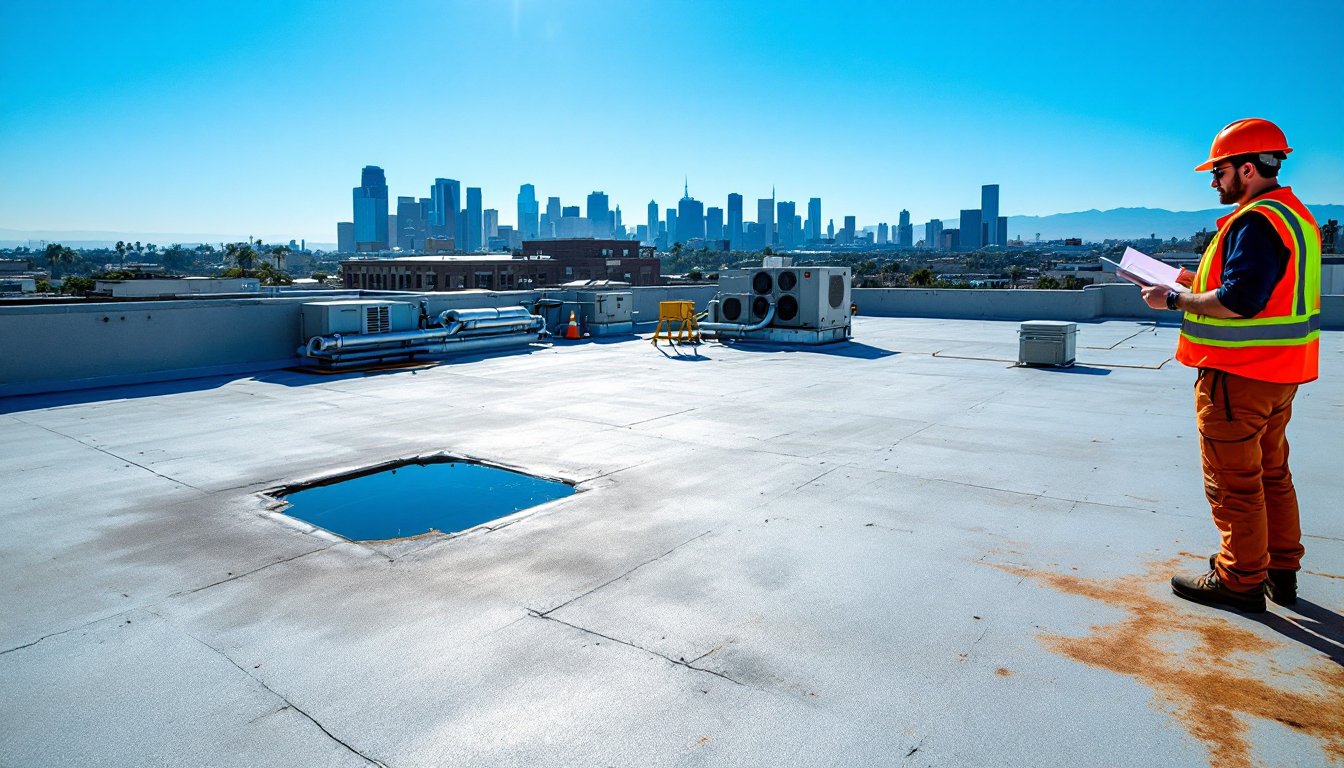
Catching damage early makes repairs faster and cheaper. Walk your roof at least twice a year, once in spring after winter weather, and again in fall, using a flat ladder on stable ground. Wear non-slip shoes or boots and never work alone or in wet, windy, or icy conditions.
Visible Cracks and Seams Separation
Look for hairline cracks in the protective coating: they’re the most common sign of aging. Narrow cracks (under 1/8 inch) are usually cosmetic and don’t yet expose the foam, but they will widen over time. More urgent are larger cracks, splits wider than 1/4 inch, or areas where the coating is flaking or peeling. Pay special attention to seams where the foam was applied in sections or where walls meet the roof. Over time, these joints develop gaps as the material undergoes slight expansion and contraction with temperature swings. A gap at a seam is an open invitation for water to enter. If you see separation at a seam greater than 1/8 inch, water is likely getting in.
Pooling Water and Drainage Issues
Foam roofs must slope to drain water, typically a minimum 1/4 inch per foot. If water pools and sits for more than 48 hours after rain, it will eventually penetrate even small cracks. Pooling water appears as dark or discolored spots and feels soft when you walk on it. This indicates the foam below is waterlogged. Check gutters and downspouts too: debris clogs reduce drainage and push water toward low spots. Some foam roofs develop blistering, visible bubbles in the surface, which suggests moisture has gotten under the coating. These are red flags: the foam is separating from the substrate or holds trapped moisture, and repair is urgent to prevent deeper damage.
Preparing for Foam Roof Repair Work
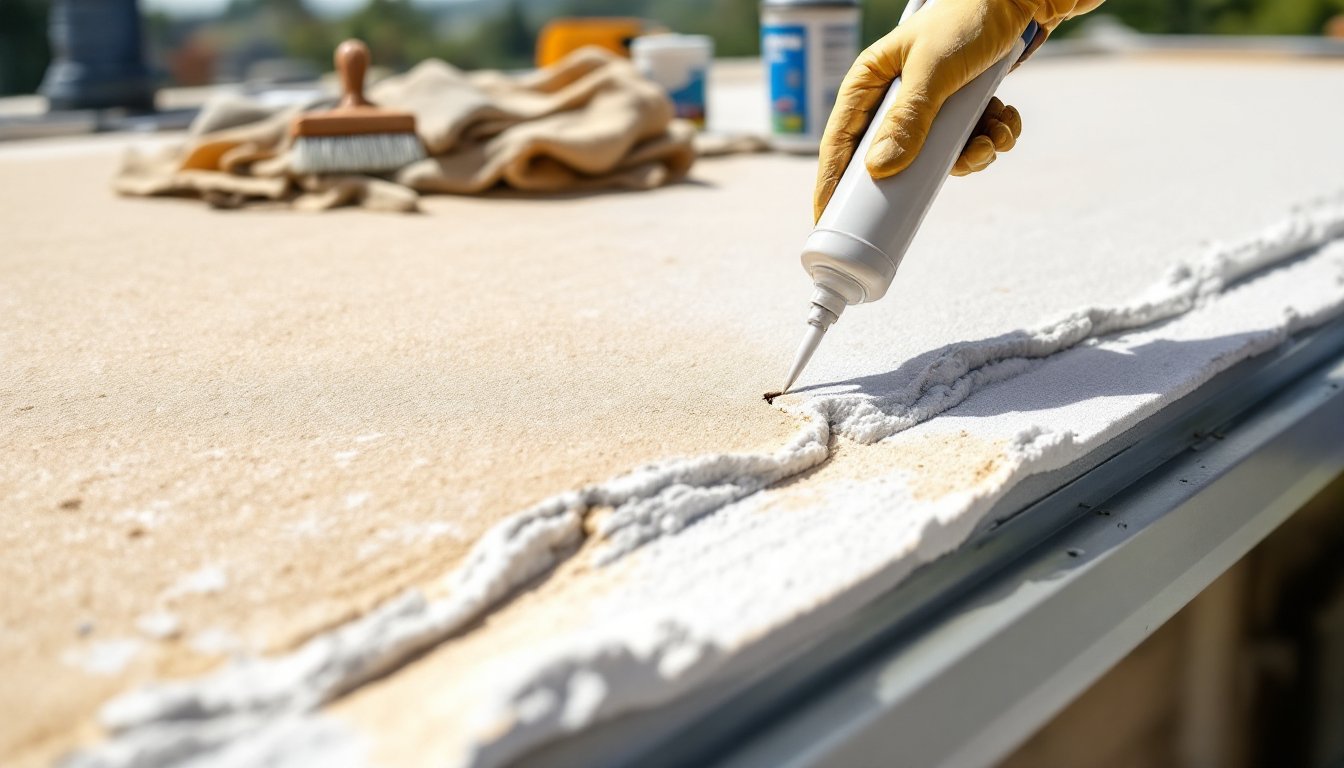
Before you touch the roof, gather materials and assess the scope. For minor cracks (hairline to 1/8 inch), you’ll need a foam roof sealant or patch kit, these typically come in caulk tubes or cartridges and are designed specifically for foam. Popular options include polyurethane caulks, acrylic-based sealants, or two-part foam sealers. Buy a product rated for UV and moisture resistance on foam: don’t grab generic silicone caulk from the hardware store, as it can degrade the coating.
For the application, gather a caulking gun (for tubes), a stiff brush to clean the crack, and cloth rags. Some repairs require primer, a sticky compound that helps sealant bond to the coating. Check your product’s instructions. If tackling larger damage or seam separation wider than 1/4 inch, you may need a patch kit that includes a foam-compatible adhesive and fabric reinforcement. These work like roof patches but are formulated for foam surfaces.
Always start with surface prep. Cracks must be clean and dry. Use a stiff-bristled brush to remove dirt, loose coating, moss, or algae. A pressure washer (set to low pressure, around 1,500 PSI) can help on larger areas, but be cautious, high pressure damages foam. After washing, let the roof dry completely for at least 24 hours before sealing. Check the weather forecast: don’t repair during rain, high humidity, or temperatures below 50°F, as sealants need warmth and dry conditions to cure properly. Wear safety glasses, gloves, and a dust mask during prep to avoid breathing debris or touching irritating materials.
DIY Repairs vs. Professional Services
Minor repairs, small cracks, isolated blistering, and routine sealing, are well within reach for a DIYer with basic tools and patience. If you’re comfortable on a ladder and can follow product instructions, sealing a hairline crack in the coating costs $50–$150 in materials and takes an afternoon. Patch kits for seam separation run $100–$300 per patch.
But, some situations demand professional expertise. Large areas of blistering, extensive seam failure, soft or waterlogged foam, and pooling water over a large footprint require a roofer. These problems indicate the foam may have failed structurally, the coating may need full replacement, or underlying deck damage may need inspection. A contractor has access to commercial sealants, can verify that damage isn’t tied to poor flashing around penetrations, and can assess whether repairs or a new coating system is the better value. Local roofing contractors experienced with foam systems can also verify building code compliance and may offer warranties on their work.
Before hiring, get estimates from at least two contractors. Check reviews on Angi or ask neighbors for referrals. Many roofers offer free inspections. If you’re unsure whether your damage is DIY-able, take photos and have a pro do a quick assessment, usually $50–$100, before committing to major work. For “find a pro near you” options, homeowners in many areas through HomeAdvisor. Budget for professional work at $2–$5 per square foot for minor repairs and $5–$15 per square foot for recoating, depending on your region and the extent of damage.
Conclusion
Foam roofs are durable and cost-effective, but they do require attention. Inspect regularly, address cracks and seams early, and ensure proper drainage. Many DIY repairs pay for themselves in time saved versus roofer callout fees, but know when to stop and call in a professional. With proactive maintenance, your foam roof will protect your home for decades to come. For detailed guidance on specific repairs, check DIY roof repair tutorials from experienced home improvement sources to bolster your confidence.