Your home’s fascia might not get the attention of a fresh coat of paint or new siding, but it’s doing some of the most important defensive work on your entire structure. This board, tucked under the eaves where the roof meets the exterior walls, channels water away from your foundation and protects the rafter tails from weather damage. When fascia fails, the consequences ripple fast: water infiltration, attic damage, pest entry, and costly structural repairs. The good news? Many homeowners can tackle fascia repair themselves with basic carpentry skills and the right tools. This guide walks you through identifying damage, understanding your options, and executing repairs that actually stick.
Table of Contents
ToggleKey Takeaways
- Fascia roof repair is critical because this board channels water away from your foundation and protects rafter tails from weather damage, pest entry, and costly structural repairs.
- Common signs your fascia needs repair include soft spots when probed, peeling paint, sagging, water stains, mold growth, and hollow sounds indicating internal rot.
- DIY fascia repair requires measuring the damage, removing the gutter, prying off the damaged board, inspecting rafter tails, cutting new fascia to fit, and fastening with 3-inch galvanized screws spaced 16 inches apart.
- Always apply primer and paint to the back and bottom edges of new fascia before installation to prevent water from wicking into the wood grain and extend board lifespan.
- Fascia roof repair as a DIY project typically costs $200–$500 per run versus $800–$2,000+ for contractor work, making it worthwhile if you’re comfortable working at height and have the proper tools.
- Pest damage often coexists with fascia rot, so address infestations first with a professional before replacing damaged wood to prevent recurrence.
What Is Fascia and Why It Matters
Fascia is the horizontal board running along the eaves where your roof overhangs the walls. It’s the trim piece you see from the ground, and it sits just in front of the gutter. Behind it are the rafter tails, the exposed ends of the structural beams holding up your roof. The fascia’s main job is protection: it seals that gap, channels water into gutters, and keeps weather, pests, and moisture away from the framing.
Most fascia boards are made from wood (pine, spruce, or fir), aluminum, or vinyl. Wood requires more maintenance but’s easier to repair. Aluminum and vinyl resist rot but can dent or warp. The fascia also carries the weight of your gutters and the ice/snow load in winter climates, so it needs to be structurally sound, not just pretty.
Because fascia sits in a constant moisture zone, exposed to sun, wind, and rain, it ages faster than other exterior trim. Ignoring a small rot spot can mean replacing entire sections in a year or two. Catching and fixing damage early is one of the smartest investments you can make in protecting the rest of your roof system.
Signs Your Fascia Needs Repair
Visual Warning Signs
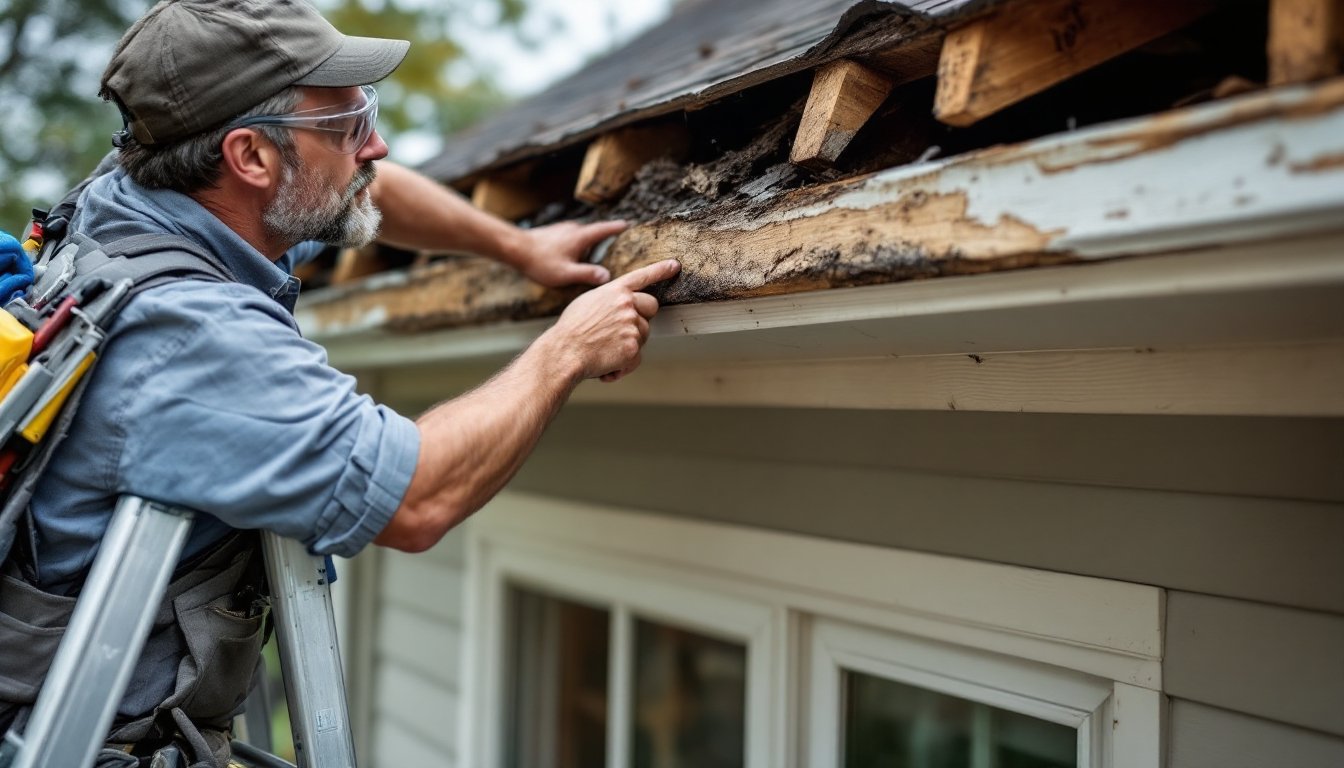
Look for soft spots when you poke the fascia with a screwdriver or probe. If the tool sinks in easily, that’s rotted wood, a clear sign repair is needed. Peeling paint, large cracks, or splintering are also red flags. You might notice dark stains (indicating water damage) or visible mold and mildew growth. Sagging fascia or gaps between the board and the wall suggest the fasteners are failing or the wood has warped and lost its structural integrity. Even a small section of damage tends to spread because moisture finds its way in.
Structural Red Flags
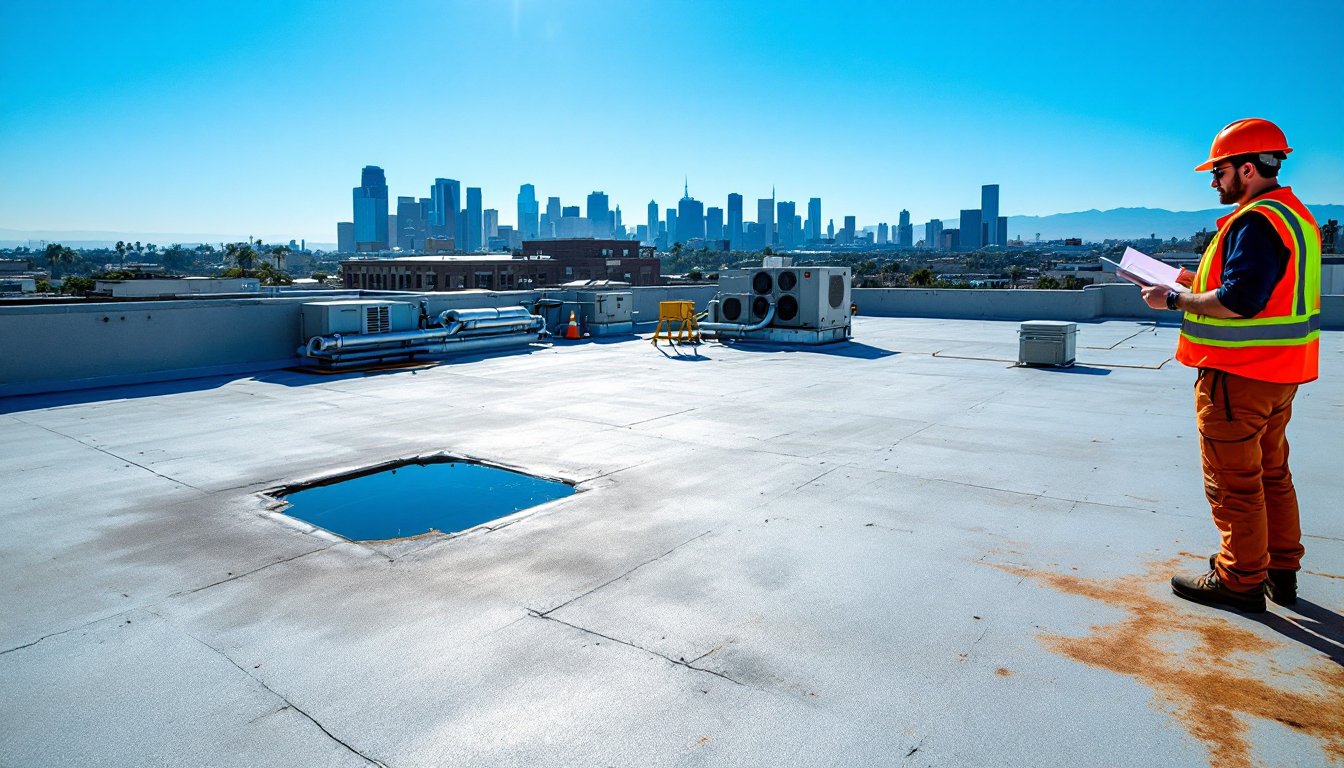
If you notice gutter debris piling up or gutters that are sagging or pulling away, your fascia may have lost the strength to support them. Water staining on your soffit (the underside of the eave) or exterior walls hints that the fascia isn’t doing its job channeling moisture. Listen, too, a hollow sound when you tap the fascia with a hammer suggests internal rot. If there’s evidence of pest activity (carpenter ants, wasp nests, or small entry holes), water damage is almost certainly present nearby. These signs mean moisture has been a problem long enough for secondary issues to develop. Don’t delay diagnosis: a professional inspection may be worth the $200–$400 cost to clarify what’s actually happening behind the scenes.
DIY Fascia Repair: Essential Steps
Materials and Tools You’ll Need
Materials:
- Replacement fascia board (same wood species and thickness as original, typically 1×8 or 1×10 nominal boards: measure your actual old board first)
- Galvanized or stainless steel fasteners (3-inch exterior-grade screws or hot-dipped galvanized nails to resist rust)
- Exterior-grade primer and paint (at least 1 quart for prep and two coats)
- Wood filler or epoxy for small knots or nail holes
- Flashing tape or metal drip edge if replacing along the roof line
Tools:
- Ladder (28–32 feet minimum for most two-story homes: rent or borrow if you don’t own)
- Power drill/driver and circular saw or miter saw (cleaner cuts on angles)
- Pry bar and nail puller
- Tape measure, carpenter’s level, and square
- Paintbrush and roller
- Safety gear: goggles, work gloves, dust mask (wood dust), and ear protection if using power tools
Step-by-Step Process:
-
Assess and plan. Measure the damaged section carefully. Determine whether you can patch a small area or need to replace an entire fascia board run. Small repairs (under 2 feet) can sometimes be epoxy-filled and refinished, but large soft spots demand board replacement. Get a second set of eyes if you’re unsure.
-
Remove the gutter (or have a helper hold it clear). Most gutters bolt or screw to the fascia. Mark fastener locations before unbolting so reinstallation is easier.
-
Pry off the damaged fascia carefully using a pry bar. Work from both ends toward the center. Watch for old flashing underneath, photograph it in place before removal so you can reinstall correctly. Note the thickness (usually 0.75 inches actual) and width (7.25–9.25 inches actual for nominal 1×8 or 1×10).
-
Inspect the rafter tails for rot or insect damage. If the wood underneath is soft, you may need a contractor to assess framing strength before replacing the fascia. Sound rafter wood can be primed and painted before the new fascia goes on.
-
Cut the new board to length using a miter saw for cleaner, angled cuts if the board meets another at a corner. A circular saw works but produces rougher cuts. Make sure the board fits snugly.
-
Apply primer and paint to the back and bottom edges of the new board before installation. This prevents water from wicking into the end grain and extends the life of the wood significantly. Two coats is standard: one coat is minimum but risky in damp climates.
-
Fasten the new fascia using 3-inch galvanized screws (not nails, which can work loose) spaced about 16 inches apart. Pre-drill holes to prevent splitting. Attach to the rafter tails, not just the rim joist, for proper support.
-
Reinstall any flashing or drip edge so water drains away from the wall. This is not optional, it’s your primary defense against water intrusion.
-
Reattach the gutter using the marks you made earlier. Check that the gutter is level and slopes slightly (about 0.5 inch per 10 feet) toward the downspout.
-
Paint the fascia with quality exterior paint (two coats). Latex works, but oil-based holds up longer in sun exposure. Sand lightly between coats for adhesion.
Common Fascia Damage and Solutions
Rotted wood is the most common culprit. If rot is confined to a 2–3 foot section, you can cut out that section and splice in new wood using scarf joints or butt joints with interior blocking. Anything larger warrants full board replacement. Step-by-step guides to replacing rotted fascia boards are available online and can help you visualize the process before you start.
Pest damage (carpenter ants, termites, wood wasps) often coexists with rot. Kill the infestation first, consult a pest control professional, then replace the damaged wood. Paint and primer are your best preventative after repairs: unpainted wood invites pests.
Aluminum or vinyl fascia damage (dents, warping, cracking) is trickier to repair in place. Small dents don’t affect function and can be left alone. Cracks or breaks usually mean replacement of that section. Aluminum can be patched with epoxy or metal repair tape in an emergency, but longevity is limited. Vinyl can crack in cold and won’t accept paint well, replacement is often the smartest fix.
Paint failure or mildew suggests poor prep work during the last paint job. Sand off loose paint, prime bare wood, and apply two coats of quality exterior paint. Pressure-wash to remove mildew first: don’t just paint over it or it will return in weeks.
Gutter pullaway or sagging often points to failing fascia fasteners or wood that has lost its grip. Inspect the mounting points and re-secure or upgrade fasteners. If the fascia itself is compromised, repair or replacement is necessary, you can’t have functional gutters without a solid fascia to anchor them to.
When deciding between DIY and professional help, ask yourself: Can you safely work at height for 4–6 hours? Do you own or can you rent the right tools? Are the rafter tails sound and accessible? If you answered no to any question, hire a contractor. Resources from trusted DIY platforms like Family Handyman and home improvement experts such as Bob Vila can guide your research on finding a qualified professional if needed. Fascia repair costs $200–$500 for a single run (25–30 feet) when done by a homeowner: contractor pricing runs $800–$2,000+ depending on material choice and job scope. That gap makes learning to DIY worth the effort if you’re comfortable on a ladder.