
A leaky roof isn’t something you can ignore, water damage spreads fast and gets expensive. The good news? Many common roof repairs are doable without calling a contractor, if you know what you’re looking at. From missing shingles to flashing gaps, understanding which problems you can handle yourself and which require a pro will save you money and headaches. This guide walks through the most common DIY roof repairs, the tools you’ll need, and honest talk about when to pull the trigger on a professional.
Table of Contents
ToggleKey Takeaways
- DIY roof repairs can handle cosmetic issues like missing shingles and flashing sealant gaps, but structural damage, steep pitches over 10/12 slope, and extensive leaks require a licensed professional.
- Locating a roof leak requires careful inspection of the attic and roof surface, as water travels along framing and may enter far from the actual hole.
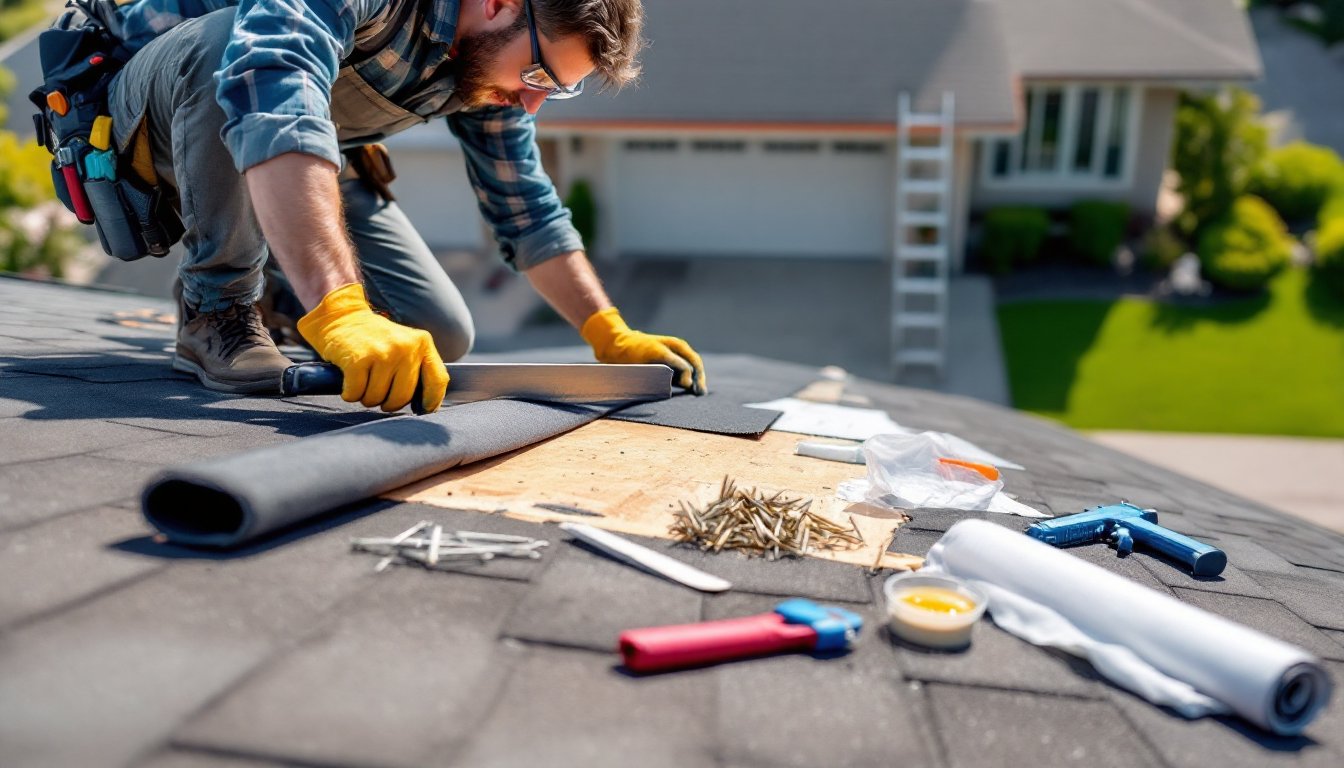
- Essential DIY roof repair tools include a pry bar, hammer, putty knife, caulking gun, roofing nails, and proper safety equipment like a harness, ladder stabilizer, and work gloves.
- Missing or damaged shingles can be replaced by carefully removing old fasteners, sliding in a new shingle aligned with neighbors, and sealing with four roofing nails and roofing cement.
- Roof flashing sealant typically lasts 5–10 years; refreshing it every 5–7 years prevents costly water damage and extends your roof’s lifespan to 20–25 years.
- Annual spring inspections, regular gutter cleaning twice yearly, and prompt leak repairs are the most cost-effective maintenance practices to protect your roof investment.
When to Tackle Repairs Yourself vs. Calling a Professional
Not every roof problem is a DIY job. Start by assessing the scope and your comfort level working at height.
Cosmetic repairs you can handle: Missing or curled shingles, small flashing leaks, minor sealant failures, and clearing debris from valleys and gutters are all realistic for a confident homeowner. These don’t require permits and won’t endanger the structural integrity of your home.
When you need a pro: Structural damage (rotted decking, sagging roof lines, compromised rafters), extensive leak investigations beyond the obvious wet spot, or repairs on steep pitches (anything over 10/12 slope) should go to licensed roofers. Most jurisdictions require permits for roof replacement or work affecting load-bearing components. If your roof is under warranty, DIY work can void it, read the fine print first.
Height and access matter. Even handy folks get hurt on ladders. If you can’t safely reach the work area or you’re uncomfortable climbing, that’s a valid reason to hire out. A single-story ranch with a walkable slope is different from a two-story colonial with a steep pitch.
Essential Tools and Safety Equipment You’ll Need
You don’t need a contractor’s rig, but a few core tools make the difference between a safe, quality job and a disaster.
Safety first:
• Fall protection: A roof harness tied to a solid anchor point (chimney, roof jack, or rafter) is non-negotiable if you’re working on anything steeper than a gentle slope.
• Ladder stabilizer or standoff to keep the ladder from sliding and from pressing directly against gutters.
• Safety glasses to protect from debris and staples.
• Work gloves (leather or nitrile), roofing materials have sharp edges.
• Dust mask or respirator if you’re breaking up old sealant or working around deteriorated material.
Repair tools:
• Pry bar (flat or curved claw) for lifting shingles and removing old fasteners.
• Hammer or cordless drill/driver for fastening.
• Putty knife for scraping old sealant and applying new caulk.
• Caulking gun for roofing cement or sealant tubes.
• Roofing nails (galvanized or stainless steel, typically 1¼”) rated for your shingle type.
• Utility knife for trimming shingles or cutting through old sealant.
• Tape measure and marker for layout.
• Ladder (extension or A-frame, depending on roof height).
Many hardware stores rent specialized tools like roof jacks or harness kits if you’re tackling a larger project.
How to Fix a Leaky Roof
Pinpointing a leak is harder than fixing it. Water travels along framing and can enter far from the actual hole, so you’re hunting for the source, not just the symptom.
Locate the leak:
- Inspect the attic on a clear day. Look for water stains, mold, or damp insulation. Mark the spot.
- If you can’t see it from inside, get on the roof with binoculars and scan above the stain. Look for cracks, missing shingles, holes, or gaps in flashing.
- Walk the roof carefully. Check valleys (where two slopes meet, common trouble spots), around vent pipes and chimneys, and along edges.
Common leak sources: Flashing cracks, deteriorated sealant, missing or slipped shingles, cracked or missing ridge caps, or nail holes from old satellite dishes or antennas.
The fix (basic):
- Clean the area around the leak with a brush. Remove dirt and loose granules.
- Apply roofing cement (a thick, tar-like sealant) to the crack or hole using a putty knife. Press it in firmly.
- Cover the repair with a shingle patch or aluminum flashing, secured with roofing nails and caulk.
- Seal all nail heads with a small dab of roofing cement.
For leaks around vents or chimneys, check out resources on common roof problems to understand your specific flashing type. Boot-style flashing around vent pipes often wears first: the rubber collar can crack or pull away.
Repairing Missing or Damaged Shingles
Missing or curled shingles leave the decking exposed to water and UV damage. Replacing them is straightforward, it just takes care and patience.
Remove the damaged shingle:
- Lift the shingle above the damaged one to expose its nails (typically 4 per shingle, at the top).
- Pry the nails out with a flat bar. Go slow to avoid tearing adjacent shingles.
- Remove the damaged shingle completely. Clean away old adhesive or sealant with a putty knife.
Install the replacement:
- Slide the new shingle into place, aligning it with its neighbors. Three-tab shingles have notches: line them up with the existing shingles below.
- Nail it down with four galvanized roofing nails, one near each corner, just below the factory-applied adhesive strip (if present). If no strip, secure about 5–6 inches down from the top, above the tab cutouts.
- Seal the new shingle’s top edge and the nail heads with roofing cement or a small dab of the shingle’s own adhesive if you have it. This locks everything down and prevents water intrusion.
Tips: Shingles are easier to work with on warm days, they’re pliable. On cold mornings, the adhesive is brittle and can crack. Always use fasteners designed for roofing: regular nails won’t grip properly and will back out.
Sealing Roof Flashing and Preventing Future Leaks
Flashing is thin metal (usually aluminum or steel) that directs water around chimneys, vents, and valleys. When its sealant fails or it pulls loose, water sneaks behind the shingles.
Inspect and clean:
- Walk around all penetrations (vents, chimney, skylights) and look for gaps or cracks in the sealant.
- Check if the flashing has lifted or shifted: it should lie flat and overlap the shingles below.
- Remove any debris, leaves, granules, or moss, with a soft brush.
Reseal flashing:
- Remove old sealant with a putty knife. This is tedious but necessary, new sealant won’t bond well over old, dried caulk.
- Dry the area completely. If it’s damp, moisture will trap under the new sealant and lead to rust or further water damage.
- Apply roofing cement or polyurethane caulk along the seam where flashing meets shingles or roof deck. Use a caulking gun and run a smooth bead. Wipe excess with a damp rag.
- Secure loose flashing with roofing nails if it’s lifted. Drive nails at an angle, not straight down, and seal the nail heads.
Preventive sealant refresh: Roof flashing sealant lasts 5–10 years depending on sun exposure and weather. If you notice cracking or peeling every few years, plan an inspection and re-seal in early spring before heavy rains. This is far cheaper than fixing rot or mold inside the attic.
Maintenance Tips to Extend Your Roof’s Lifespan
A well-maintained roof lasts 20–25 years. Neglect it and you’ll be shopping for a replacement at year 12.
Annual spring inspection:
- Look for curled, cracked, or missing shingles.
- Check that flashing is sealed and secure.
- Clear gutters and downspouts of leaves and debris.
- Scan for moss or algae growth (more common in shade or humid climates).
Clear valleys and gutters regularly. Leaves and debris trap moisture and promote rot. Clean them twice a year, fall after leaf drop and spring before heavy rain.
Address leaks immediately. Even a small drip will expand into major damage. Mold, rot, and insulation deterioration follow quickly. A quick patch or re-seal today prevents thousands in reconstruction later.
Trim overhanging branches. They trap moisture, shade the roof (slowing drying), and drop debris. They also damage shingles during storms.
Monitor sealant and flashing. These wear faster than shingles. Refresh sealant every 5–7 years, especially around high-traffic areas or where you’ve made repairs. Home maintenance checklists and seasonal guides can help you stay on track.
Know your roof’s age and type. Asphalt shingles degrade differently than metal or slate. Older roofs (15+ years) need closer scrutiny. Budget replacement before total failure.
Conclusion
DIY roof repairs save money and give you control over your home’s upkeep, but they demand respect for safety and honest self-assessment. Know your limits, a steep roof, major structural damage, or ongoing leaks aren’t worth a hospital visit or making things worse. Tackle the straightforward stuff (shingles, flashing sealant, simple patches) and call a licensed roofer for the rest. Stay proactive with annual inspections and timely maintenance, and your roof will protect your home for decades.