
A leaking trailer roof isn’t just annoying, it’s a ticking time bomb for water damage, mold, and expensive structural rot. Whether you’re dealing with a travel trailer, horse trailer, or enclosed cargo trailer, roof leaks get worse fast once they start. The good news? Many repairs are straightforward enough for a confident DIYer to handle. You don’t need to haul your rig to a shop and pay hundreds in labor if you can spot the problem early and patch it properly. This guide walks you through identifying damage, gathering the right materials, and sealing your trailer roof so it stays dry for years to come.
Table of Contents
ToggleKey Takeaways
- Early detection of trailer roof leaks—through visual inspections and the water-spray test—saves time and prevents costly structural damage from spreading.
- Proper surface preparation, including thorough cleaning and light sanding, is critical for sealant adhesion and ensuring a successful trailer roof repair.
- For holes and tears larger than 2 inches, use appropriately sized patches (at least 4 inches beyond the damage) with sealing sealant applied to all edges to prevent water infiltration.
- EPDM rubber and TPO membranes require material-specific patches and primers; verify your roof type before purchasing repair materials.
- Roof penetrations like vents, A/C units, and cable pass-throughs are prime leak sources and should be inspected and resealed during any trailer roof repair project.
- Allow 24–48 hours for full curing before exposing repaired areas to rain or temperature extremes; soft, rotted substrate may indicate structural damage requiring professional assessment.
Signs Your Trailer Roof Needs Repair
Catching a roof problem early saves you time and money. The most obvious sign is water dripping inside during rain, but by the time you see that, the leak has been eating away at insulation and structure for a while.
Walk around your trailer on a dry day and look for visible damage: cracked or peeling roof coating, lifted seams, punctures, or areas where the material is soft and spongy to the touch. Check around roof vents, air conditioning units, and any penetrations where a pipe or wire passes through the roof. These spots are prime leak sources because sealant degrades faster where different materials meet.
Inside, watch for water stains on walls or cabinets, musty smells, or visible mold growth. Run your hand along seams and high-traffic areas (like near the refrigerator vent or bedroom corners) where condensation collects. Soft spots in the roof exterior mean the underlying substrate is already compromised by moisture, and the damage spreads laterally, not just straight down.
If you’re unsure about the extent of damage, grab a buddy and have one person spray the roof with a garden hose, gently, not a pressure washer, while the other watches inside for drips. This pinpoints the leak location so you can focus your repair effort.
Essential Tools and Materials for Trailer Roof Repair
Before climbing onto your roof, gather the right tools and supplies. You’ll avoid multiple trips and do a cleaner, faster job.
Tools:
• Cordless drill and bit set
• Flat-head and Phillips-head screwdrivers
• Utility knife and extra blades
• Caulking gun
• Sealant knife or putty knife (2–3 inches wide)
• Wire brush or stiff-bristled hand brush
• Measuring tape
• Safety glasses, work gloves, and a dust mask or respirator
• Roofing cement spreader or old putty knife
• Ladder (rated for your weight plus tools)
• Headlamp or work light
Materials:
• EPDM rubber patch kit or thermoplastic polyolefin (TPO) repair patches (depending on your roof type)
• RV roof sealant (urethane or butyl-based: stays flexible in temperature swings)
• Primer for your roof material (often included in patch kits: check first)
• Mineral spirits or acetone for cleaning (check product label compatibility)
• Clean cloth or paper towels
• Plastic sheet or drop cloth to protect interior during work
• Sandpaper (80–120 grit) for light prep
• Roofing nails or fasteners if re-securing seams
Most modern travel trailers and utility trailers use EPDM rubber or TPO membrane roofing. Older trailers might have aluminum or asphalt-based coatings. Identify your roof type before buying patches, a patch designed for EPDM won’t adhere well to TPO, and vice versa. Check your trailer manual or look for product markings on existing seals or patches.
Step-by-Step Repair Process
Inspection and Preparation
Safety first: park your trailer on level ground in daylight. Set up a sturdy ladder and wear non-slip shoes. If your roof is metal or slick when wet, consider a roof harness or having someone stabilize the ladder.
-
Locate the damage. Use the water-spray method or look for visible cracks, punctures, or lifted seams. Mark the area with a grease pencil or tape.
-
Clean the repair zone thoroughly. Dirt, leaves, and mold prevent sealant adhesion. Use a wire brush to scrub the damaged area and 6–12 inches in all directions. Wipe away dust with a damp cloth, then dry completely with a clean rag. Don’t skip this, a dirty surface is a failed repair waiting to happen.
-
Roughen the surface lightly. Use 80–120 grit sandpaper to scuff the area where the patch will stick. This gives the sealant or patch adhesive something to grip. Wipe away all dust again.
-
Apply primer if required. Some patch kits include primers: others don’t. If your kit includes primer, apply a thin, even coat per the manufacturer’s instructions. Let it cure for the specified time (usually 10–30 minutes) before moving to the next step. Primer improves adhesion, especially on older, oxidized roofing surfaces.
Patching and Sealing
-
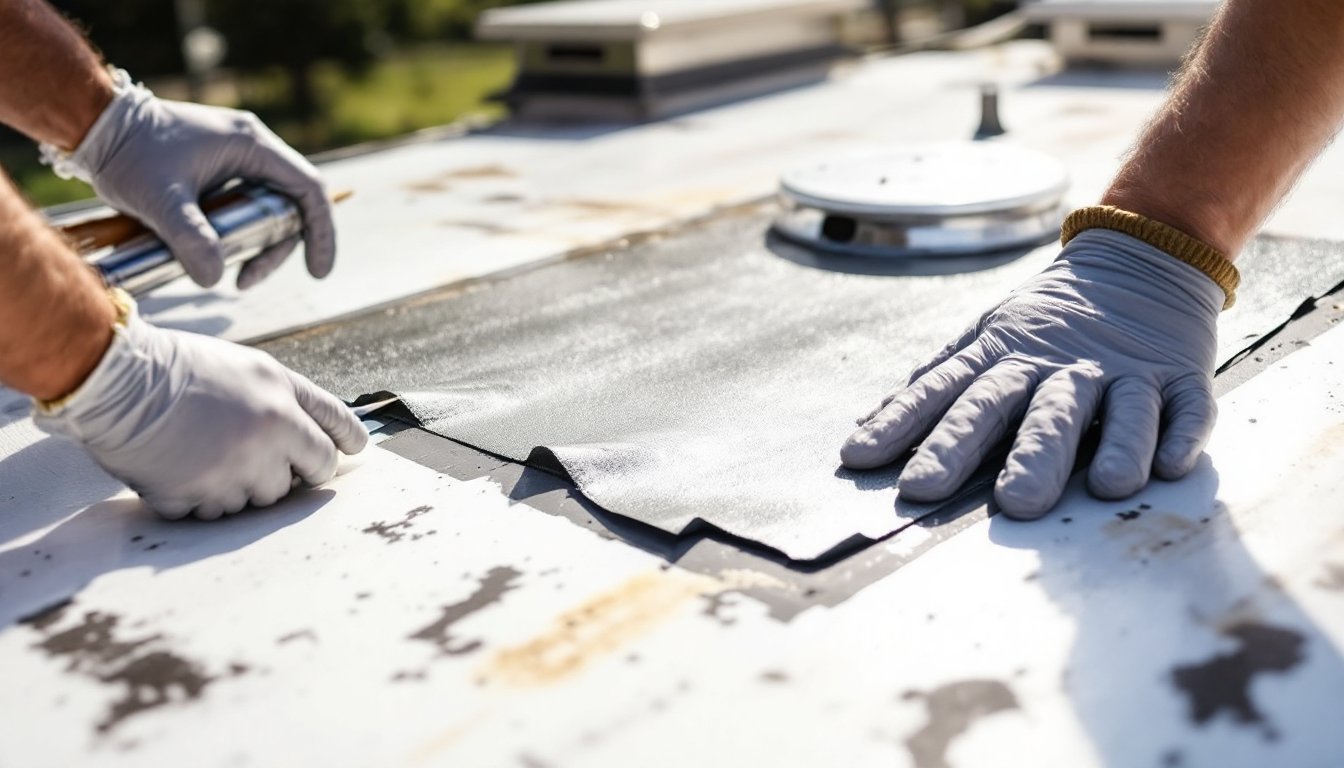
Size and cut the patch. For small cracks (under 2 inches), a liquid sealant alone may suffice. For holes, punctures, or tears larger than 2 inches, use a patch kit. Cut the patch at least 4 inches longer and wider than the damage on all sides, so a 1-inch hole gets a 9-inch patch. Round the corners slightly to prevent the patch edges from peeling up.
-
Apply the patch adhesive. Follow the kit instructions closely. Most EPDM and TPO patches use pressure-sensitive or water-activated adhesive. If pressure-sensitive, peel the backing and press the patch firmly into place, working from the center outward to remove air bubbles. Use a hand roller or the flat of your hand, applying strong, even pressure for at least 30 seconds.
-
Seal seams and edges. Once the patch is set, use RV roof sealant to seal the perimeter of the patch and any exposed seams. Apply the sealant with a caulking gun in a continuous bead about 1/4 inch wide. Use a wet sealant knife or your finger (wear a glove) to smooth and press the sealant into the gap. A properly sealed edge prevents water from sneaking under the patch.
-
Let it cure fully. Most urethane sealants need 24–48 hours to cure completely before exposing them to rain or temperature extremes. Check the product instructions and don’t rush this step. Curing time varies by brand, humidity, and temperature.
-
Inspect around vents and penetrations. While you’re up there, check every roof vent, A/C unit, and cable pass-through. If sealant is cracked or missing, clean, prime (if needed), and reapply fresh sealant. These spots account for a huge percentage of trailer roof leaks.
For larger seam damage or areas where the roof substrate is soft and rotted, a patch may be a temporary fix. If you tap the area and it feels hollow or spongy, the damage extends into the frame. This is structural work, get a professional assessment before patching over it. Popular Mechanics and other trusted guides can help you understand structural damage vs. surface wear, but a licensed RV technician is your best bet for integrity confirmation.
Conclusion
Trailer roof repairs don’t require fancy skills, just patience and the right materials. Catching leaks early, cleaning thoroughly, and using proper sealants mean your rig stays dry and your interior stays protected. If you encounter rot, soft substrate, or seam separation that won’t stop leaking after a patch, don’t hesitate to consult a professional. Your trailer is a significant investment, treating its roof with care pays dividends for years of trouble-free traveling or hauling.