
A leaky roof isn’t something you can ignore, water damage spreads fast and turns into expensive problems. But not every roof issue requires calling in professionals or very costly. Many homeowners can handle basic roof repairs themselves with the right knowledge and safety precautions. This guide covers the signs your roof needs attention, what tools you’ll need, and which repairs you can tackle yourself. We’ll also be honest about when professional help is worth the investment. Whether you’re dealing with missing shingles or a small leak, understanding your roof’s condition helps you act before minor damage becomes a major headache.
Table of Contents
ToggleKey Takeaways
- Missing or damaged shingles, water stains, and granule loss in gutters are clear signs your roof needs repair, so inspect before minor issues become costly structural damage.
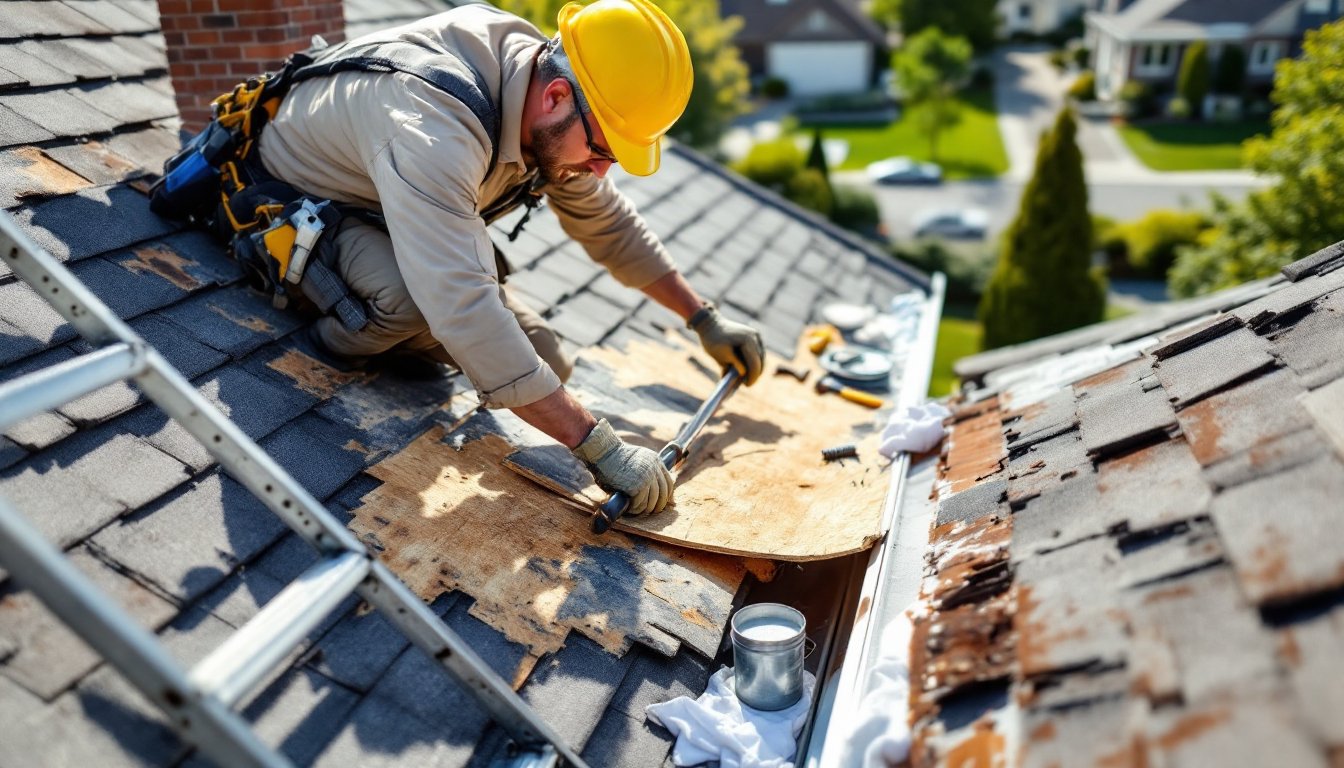
- House roof repair for basic damage like small leaks and missing shingles is manageable for homeowners with proper safety precautions, the right tools, and materials acclimated to your climate.
- Safety is non-negotiable: use fall protection on steep roofs, work in dry conditions between 45°F–85°F, never work alone, and wear full PPE including gloves, glasses, and boots with good traction.
- Call a professional roofer for steep roofs (pitch over 8/12), structural damage, metal or tile roofing, complex flashing work, or if you’re uncomfortable at heights—professional expertise prevents costly mistakes.
- Check local building codes before starting any roof work, as permits may be required depending on your location and repair scope to protect your home’s insurance coverage and resale value.
Signs Your Roof Needs Repair
Catching roof problems early saves money and prevents structural damage. Start by looking for visible signs from the ground or, if safe, from a ladder near the gutters.
Missing or damaged shingles are the most obvious red flag. Shingles curl, crack, or blow off due to age, wind, or weather exposure. If you spot bare spots or shingles that look buckled, those areas need attention soon.
Leaks inside your home are a clear indicator of trouble above. Water stains on ceilings or in attics, even small ones, mean moisture is finding its way through. Don’t wait, once water gets inside, rot and mold follow quickly.
Sagging areas suggest the roof structure itself is compromised, often from water damage or failing decking. This is not a DIY fix and requires professional assessment immediately.
Granule loss appears as dark, grainy material in gutters. Asphalt shingles shed granules as they age: excessive loss means the roof is nearing end-of-life.
Flashing issues around chimneys, vents, and valleys trap water. Rusted, cracked, or separated flashing is a common leak source and one you can sometimes address yourself. Check these spots during each inspection season, spring and fall are ideal times to look before heavy weather hits.
Essential Tools And Materials
Proper tools make the difference between a solid repair and a frustrating mess. Here’s what to gather before you climb up.
Tools you’ll need:
- Ladder (extension ladder for most roofs: ensure it’s rated for your weight and set on level ground)
- Hammer or pneumatic nailer
- Pry bar or flat shovel (for lifting shingles without tearing)
- Roofing knife or utility knife (sharp blade for cutting)
- Tape measure
- Caulking gun (for sealant)
- Work gloves, safety glasses, and dust mask
- Roof jacks or harness if your roof is steep (angle greater than 6/12 pitch)
Materials depend on your repair type:
- Replacement shingles (match your existing shingle color, style, and weight)
- Roofing nails (typically 1¼-inch for standard asphalt shingles)
- Roofing cement or sealant (asphalt-based for most repairs)
- Flashing repair tape or replacement flashing (aluminum or galvanized steel)
- Patching material (mesh tape and roof patch for small holes)
Buy shingles and flashing in advance and let them acclimate to your climate for 24 hours before installation. Cold shingles are stiff and crack easily during nailing.
Safety Precautions Before Starting
Roof work carries real risks. Falls are the leading cause of serious DIY injuries, so treat safety as your first priority.
Wear proper PPE at all times:
- Safety glasses to protect eyes from debris and nails
- Work gloves for grip and to avoid splinters
- Dust mask or respirator if you’re working in dusty conditions or handling old roofing material
- Closed-toe boots with good traction (rubber soles grip better than smooth leather)
- Ear protection if using power tools
Use fall protection on any roof with a pitch steeper than 4/12. Even modest slopes are slippery when wet or covered with granules. Roof jacks or a safety harness connected to a sturdy anchor point are non-negotiable on steep roofs.
Choose the right weather. Work on dry, clear days. Wet shingles are slippery: cold shingles become brittle. Temperatures between 45°F and 85°F are ideal for shingle installation.
Tell someone where you’re working. If you fall and can’t reach a phone, a family member or neighbor checking on you could be lifesaving.
Never work alone. A second person can stabilize your ladder, hand up materials, and call for help if needed. On steep roofs, having a spotter is essential.
Avoid power lines. Keep ladders and tools far clear of any electrical lines near your home.
Common Roof Repairs You Can DIY
Not all roof damage requires professional help. These two repairs are manageable for homeowners willing to take proper safety precautions.
Patching Leaks And Small Holes
Small holes or punctures, from branches, debris, or age, can be patched quickly. Locate the leak first by checking your attic on a rainy day or by looking for water trails on framing.
Step-by-step patching:
- Clean the damaged area thoroughly. Remove any dirt, moss, or loose material with a stiff brush.
- If the hole is small (less than 6 inches), use roofing cement and mesh patch material. Spread a layer of roofing cement, press the mesh patch over it, then seal edges with more cement. Feather the cement edges outward to blend with the surrounding roof.
- For larger holes (6–12 inches), cut a patch from material matching your roof. If you have asphalt shingles, you can cut a piece from a spare shingle or use rubber roof patch material. Secure the patch with roofing cement and roofing nails, then seal all edges and nail heads with cement.
- Allow cement to cure fully (usually 24 hours) before exposing the area to water.
This approach works on asphalt shingles, built-up roofs, and some flat roofs. If your roof is metal or clay tile, skip DIY patching and call a professional, those materials require specialized techniques.
Replacing Damaged Shingles
Missing or badly cracked shingles are one of the most common repairs. The process is straightforward once you understand shingle attachment.
What you need to know: Standard asphalt shingles are nailed at the top (concealed by the shingle above) and sealed with adhesive strips. Temperature affects how easily you can remove and install them. Warm shingles (60°F+) are more forgiving: cold ones crack during removal.
Step-by-step replacement:
- Carefully lift the shingle above the damaged one and peel back the adhesive seal. Use a pry bar to gently lift nails without tearing the shingle.
- Once nails are removed, slide the damaged shingle out. If it’s stuck tight, a bit of roofing cement softener (or careful heating with a heat gun) helps.
- Slide the new shingle into place, aligning it with adjacent shingles and the roof edge.
- Nail the new shingle with four roofing nails, one near each top corner and two in the middle, positioned just below the adhesive strip. Use 1¼-inch roofing nails driven flush, not over-driven.
- Seal the new shingle’s adhesive strip by pressing firmly along the bottom edge. You can also apply a dab of roofing cement under the adhesive tabs for extra hold in windy areas.
- Reseal the shingle above with roofing cement where you lifted it.
Replace multiple shingles the same way, working systematically across damaged areas. Most homeowners can handle 3–5 shingles in an afternoon. Resources like Today’s Homeowner provide visual references for common shingle replacement challenges.
For missing shingles along the roof edge or hip, extra care is needed because these areas see more wind exposure. Consider doubling up on nails and sealant in those spots.
When To Call A Professional
Being honest about your limits protects your home and your wallet.
Call a roofer if: Your roof is steep (pitch steeper than 8/12), you’re uncomfortable working at height, or weather prevents safe work. Also reach out for jobs involving metal roofing, tile, or flat commercial roofs, those require specialized skills and tools.
Structural damage, sagging, or extensive rot is beyond DIY scope. Water damage spreads through framing quickly: if decking is soft or spongy, the entire roof structure may need professional assessment and repair. A licensed roofer can spot hidden damage and recommend proper fixes.
Flashing work around chimneys or complex roof valleys often needs professional installation. If your flashing is rusted or separated, a roofer will replace it correctly and ensure water doesn’t return.
Permits and inspections may be required depending on your location and repair scope. Some jurisdictions require permits for any roof work: others only for full replacement. Check with your local building department before starting. Unpermitted work can affect home insurance claims and resale value.
Professional roofers carry liability insurance, work to code, and provide warranties. Cost varies regionally, HomeAdvisor and Angi both provide cost estimators and contractor reviews to help you budget and find vetted professionals in your area. Getting multiple quotes is always wise before committing to a larger repair or replacement.