Fiberglass roofs, also called fiberglass-reinforced plastic (FRP) or translucent roofing panels, offer durability, light transmission, and affordability for covered patios, carports, sheds, and garage overhangs. But they’re not maintenance-free. UV exposure, thermal cycling, foot traffic, and weather wear them down faster than you’d expect. The good news is that many fiberglass roof problems are fixable without calling in the professionals, at least on the first pass. This guide walks you through identifying damage, gathering the right materials, and tackling repairs that keep your roof watertight for years to come.
Table of Contents
ToggleKey Takeaways
- Fiberglass roof repair is manageable for small cracks and blisters under 3 inches using DIY-friendly repair putty and epoxy, but requires professional help for damage affecting more than 30% of the roof.
- UV exposure causes resin brittleness in fiberglass roofs within 10–15 years, leading to stress cracks and water infiltration that can cause mold and structural rot if left untreated.
- Before starting fiberglass roof repair, inspect your roof for visible cracks, blisters, yellowing patches, water stains, and sagging panels—early detection prevents costly emergency repairs.
- Proper surface preparation (cleaning, sanding with 120–150 grit sandpaper, and drying for at least 2 hours) is critical for adhesion and the longevity of any fiberglass roof repair.
- DIY fiberglass roof repairs using standard materials cost $50–$200, while professional repairs run $300–$800, making a professional inspection ($75–$150) worth the investment for complex damage.
- Sagging panels, broken support ribs, large holes over 2 inches, and rot in the underlying framing require professional assessment—patching these issues risks further structural failure.
What Is a Fiberglass Roof and Why It Fails
Fiberglass roofs are made from resin-impregnated glass fiber layers, often supported by a plastic or aluminum frame. They’re lightweight, cost less upfront than polycarbonate or metal, and allow diffused light through. That transparency is a double-edged sword: the same UV rays that give you daytime visibility also degrade the resin binder over time.
Resin brittleness is the root cause of most fiberglass roof failure. After 10–15 years of sun exposure, the panels lose flexibility and become prone to stress cracks. Thermal expansion and contraction, the roof expands in heat and shrinks in cold, creates micro-fractures that eventually become visible cracks. Foot traffic, fallen branches, and improper fastening accelerate the process. Water infiltration follows, leading to leaks, mold, and structural rot if the underlying framing absorbs moisture.
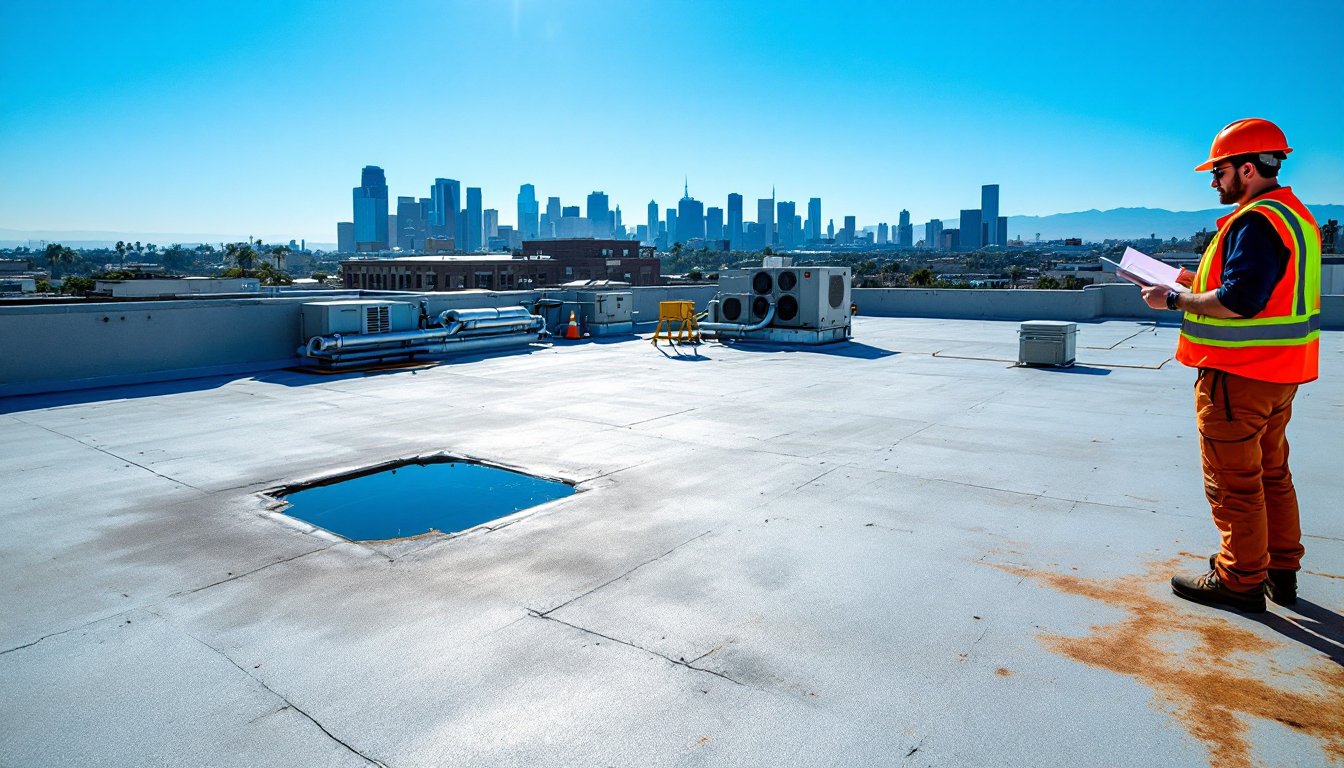
Signs Your Fiberglass Roof Needs Immediate Repair
Before grabbing your toolbox, know what to look for. Visible cracks or spider-web fractures are obvious red flags, inspect your roof on a clear day using a sturdy ladder. Blisters (raised, bubble-like areas where the fiberglass separates from its backing) trap moisture and spread quickly: don’t ignore them. Yellowing or opaque patches indicate UV damage and weakened resin, even if the roof isn’t leaking yet.
Look for water stains on the underside of the roof (inside your garage, shed, or patio). Discoloration around fastening points, screws or bolts where the roof connects to the frame, signals rust or poor sealant. If you see green algae or mold growth, water is pooling somewhere. Sagging panels mean the underlying support structure may be failing: that’s beyond a DIY repair and requires a structural engineer or professional roofer. Don’t wait until pooling water and leaks force an emergency call.
Essential Tools and Materials You’ll Need
Gather these before you climb the ladder. For surface prep, you’ll need a stiff-bristled brush, medium-grit sandpaper (120–150), and a damp cloth to clean and dry the repair area. A utility knife or rotary cutter helps clean up loose resin and fiberglass.
Safety gear is non-negotiable: safety glasses (fiberglass shards are sharp), nitrile gloves, a dust mask or respirator (fiberglass and resin fumes), and ear protection if using power tools. Wear long sleeves and pants, fiberglass irritates skin.
For the actual repair, stock fiberglass repair putty or epoxy, available at home centers or specialty suppliers. A fiberglass repair kit (often includes mat, resin, hardener, and brush) works for larger holes. Roofing sealant (polyurethane or silicone-based) closes gaps around fasteners. Primer designed for plastic or fiberglass ensures adhesion for any paint touchup. A paint roller or brush handles primer and finish coats. Have clean rags and a spray bottle of water on hand. Optional but helpful: a heat gun softens resin for blister repair, and clamps hold patches flat while curing.
How to Repair Common Fiberglass Roof Damage
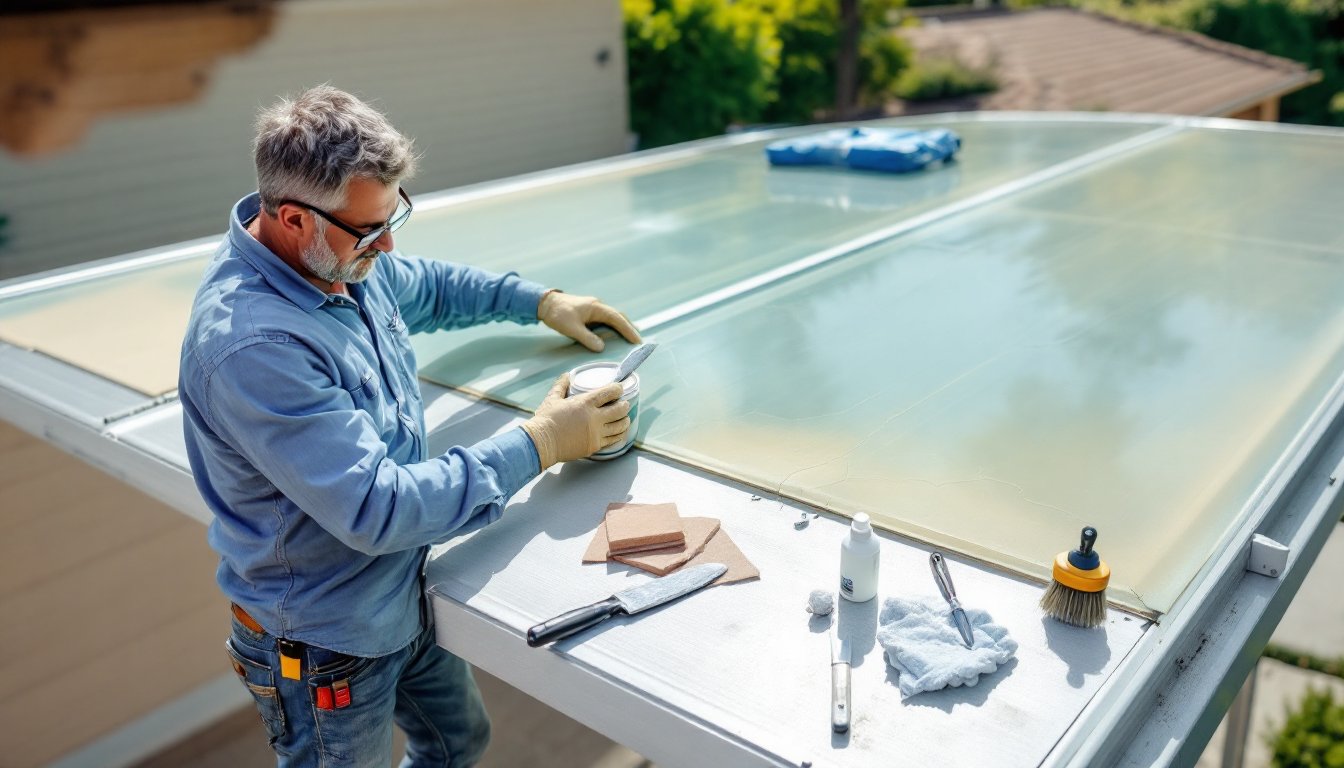
Fixing Small Cracks and Blisters
Small cracks (hairline to 1/4 inch wide) and blisters under 3 inches are manageable without professional gear. Start by cleaning the damaged area with your brush and cloth, remove dirt, algae, and any loose resin. Sand the crack lightly with 120-grit sandpaper to roughen the surface and help adhesion. Wipe away dust with a damp cloth and let it dry completely (at least 2 hours, or follow product instructions).
For blisters, you have two options: drain or repair. If the blister is soft and water-filled, use a utility knife to carefully cut a small X into the center. Press out the water, then let it dry. If it doesn’t flatten, you’ll need to patch it (see the next section).
For cracks, apply fiberglass repair putty or epoxy according to package directions, some are two-part and need mixing. Spread it into the crack with a putty knife, overfilling slightly. Smooth the surface flush with the surrounding panel. Let it cure fully (usually 24 hours). Sand smooth, then apply primer and a matching topcoat or UV-protective clear coat to protect the repair from the sun.
Patching Larger Holes and Punctures
Holes bigger than 1/2 inch or punctures that go completely through the panel need a fiberglass patch. Use a fiberglass repair kit if you’ve got it, or buy putty, fiberglass mat, and epoxy resin separately. Clean and dry the area as before, but this time sand a 2-inch margin around the hole to improve bonding. A heat gun can soften the surrounding resin slightly, making it easier to remove loose material.
Cut a patch from fiberglass mat or cloth, make it larger than the hole, typically 3–4 inches across and extending past the damage on all sides. Mix the epoxy resin according to kit instructions (ratio and curing time vary). Brush a coat of resin onto the sanded area and the underside of the patch. Press the patch firmly into place, smoothing out bubbles and wrinkles. Apply another coat of resin over the top, then cover with plastic wrap or parchment paper to keep dust out during curing.
Once cured (check the kit, typically 24 hours), sand the patch smooth, feathering the edges into the existing panel. Prime and paint to match. For added strength on high-traffic patches or those near the edge, extend the repair area or use two layers of fiberglass mat.
When to Call a Professional Roofer
Not all fiberglass roof problems are DIY-friendly. If more than 30% of your roof shows cracks, blisters, or yellowing, replacement is more cost-effective than patching. Sagging panels, broken support ribs, or rot in the underlying framing require professional assessment, these affect structural integrity.
Large holes (over 2 inches), multiple punctures, or damage near seams and fasteners are also better left to pros. If you live in a region with high wind loads or harsh climates, some repairs may require building permits or licensed contractor sign-off. Check your local building codes through your municipality’s planning department.
Cost estimates vary widely by region and damage extent. According to resources like HomeAdvisor’s repair guides, simple patching might run $50–$200 in materials if you DIY, while a professional repair call typically costs $300–$800. Full roof replacement ranges from $1,200–$3,000 depending on panel size and material. Bob Vila’s contractor recommendations emphasize getting multiple quotes before committing to major work. If you’re unsure whether a repair is within your skill level, a brief professional inspection ($75–$150) often pays for itself by preventing costly mistakes. Services like Angi’s contractor matching can connect you with vetted roofers in your area for consultation.